November 30th, 2022
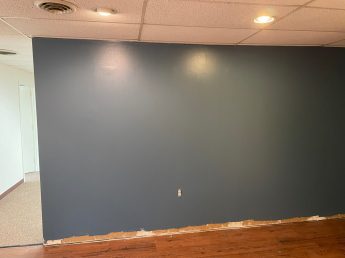
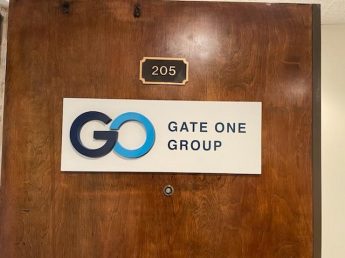
On September 26, 2022 Gate One Group Financial Services, reached out to Signcraft to design and build an office impact logo for their new office location and a doorplate for their front entry door. The new office is located on West St., in Annapolis Maryland. Tim and myself were invited to visit and take a site survey to get a better understanding of the works space and get better details of what they were looking for. John and his team were great to work with.
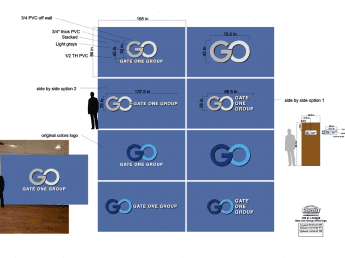
When we got there, John and his colleague greeted us. They gave us a quick tour of the office and we got straight to work. We took measurements of the wall and asked about what size and colors they were looking for. Based off the site visit and the measurements, we got to work on making a draft drawing with a few different color and design options. We finalized the drawings and sent them to Gate One Group so that they could choose which style they preferred. Once we received confirmation, we drew up a second draft and sent it over with a proof of approval for them to sign and send back.
They gave us the go ahead and we started the production process. We ordered the ¾ “ and ½” PVC sheets to be cut out on the CNC Router. Once the letters were cut they were sanded smooth, primed and painted based on the selected PMS colors. Our production team cut out the vinyl letters and drop shadow that would go on the entry door sign. We also made a drill pattern template for drilling holes on the back of the letters. We used ¼” studs with standoff sleeves. The studs were epoxied to the back and set to dry overnight.
The next morning we emailed the Gate One Group clients to let them know that their impact logo was finished and ready to install. They let us know when a good day was available for them and we put it in the calendar. Christian and I discussed and worked out an installation process that morning. We got all the materials together that we would need gave them a call to let them know we were getting ready to head over there for their install.
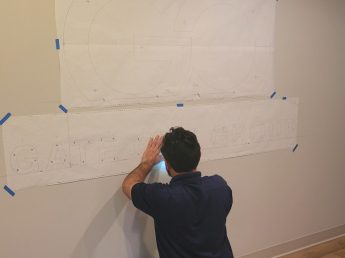
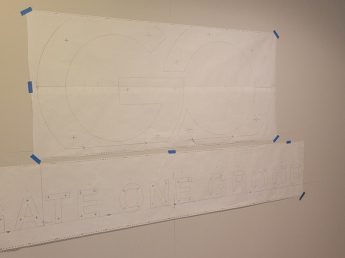
When Christian and I got to Gate One Group we grabbed everything and made our way upstairs to their office. We laid out the template, letters and the tools we would need. We measured the wall based on the drawing, found the center, made a level line, and then measured the bottom of the wall for the base line of the smaller letters. We used blue painters tape to tape up the smaller letter template. We also made a base line for the larger logo with a level line. To line up the bigger logo from left to right we took the edge of the “A” in GATE from the smaller letters and made a level line up.
We got the approval for placement of the template and started drilling the holes that were meant for the stud placement. After all the holes were drilled we took the template off and cleaned up the wall and floor. We dry fit the letters in place to make sure they all fit correctly. After getting the letters dry fit we added the ½” spacers to the smaller letters, some silicone around the studs and stuck them in the wall, then we did the same with the bigger letters using ¾” spacers.
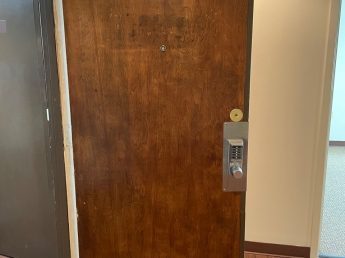
Applying the door sign was next. We found the center of the door then took a rubber mallet and lightly tapped on the sign to get the studs to mark the door so that we knew where to drill. Christian drilled the holes and dry fit the sign to make sure it was accurate. We then prepared the VHB double-sided tape added some silicone and affixed the sign to the door.
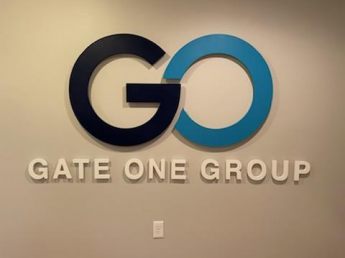
Lastly, We cleaned up or tools swept and revealed the finished product to the clients. They loved it. We took some finished pictures and a picture of them together in front of it.

